

Ask us about
test equipment solutions for your industry
How Leak Sound Analyzers Support Preventive Maintenance and Compressed Air Leak Detection

At a Glance
Leak sound analyzers detect ultrasonic noise created by escaping compressed air. Used during routine preventive maintenance, they help teams locate, document, repair, and verify leaks before system performance declines.
Using ultrasonic inspection to identify compressed air leaks before they cause energy waste, pressure loss, or downtime.
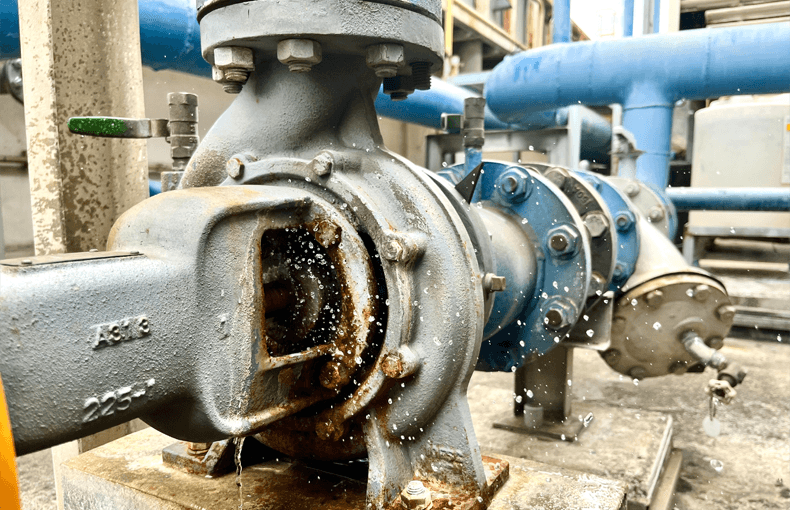
Over time, pipes wear out. Damage is an eventuality due to age, corrosion, temperature extremes, or even accidents such as external physical impacts. While it is important to be able to fix damage as it occurs, preparing for those leaks beforehand can prevent companies from losing hundreds of thousands of dollars. This is the power of preventive maintenance.
Why Is Preventive Maintenance Important for Leak Detection?
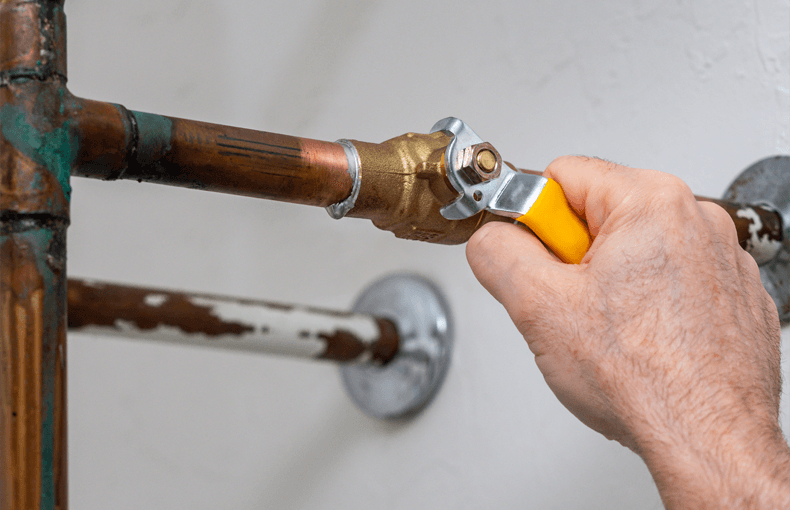
Many leaks produce noise at an ultrasonic frequency range, which is beyond what a human can hear. When leaks can be as small as ¼ of an inch, trying to find them with your eyes and ears is impractical. These leaks can go completely unnoticed for years, hidden across large distances and noisy environments. The U.S. Department of Energy reports that 20% to 30% of a compressor’s output in a typical facility is wasted by compressed air leaks.
There are common locations for leaks, such as fittings, valves, couplings, and other areas where components connect, but those do not account for all leaks. Corrosion can also weaken pipes, joints, and components, creating leaks outside the most common connection points. Additionally, it is not recommended to be reactive toward leaks because the damage can escalate quickly and result in the whole system underperforming.
There are common locations for leaks, such as fittings, valves, couplings, and other areas where components connect, but those do not account for all leaks. Corrosion can also weaken pipes, joints, and components, creating leaks outside the most common connection points. Additionally, it is not recommended to be reactive toward leaks because the damage can escalate quickly and result in the whole system underperforming.
What Damage Can Leaks Cause if Left Unchecked?
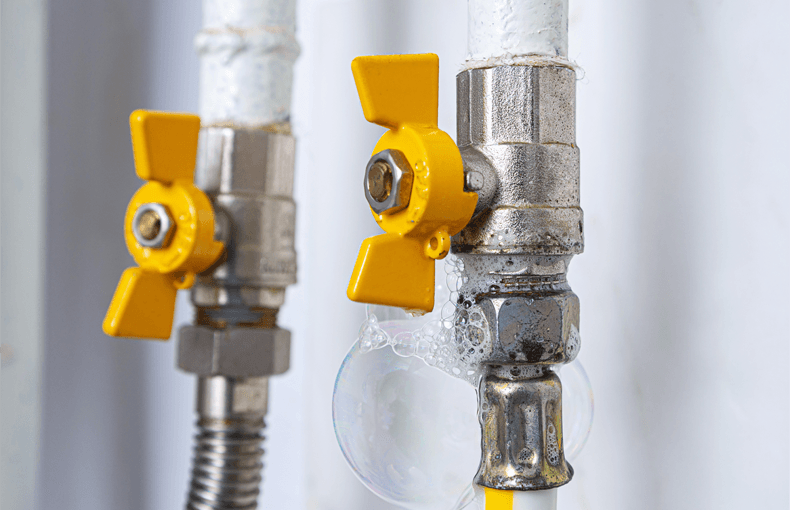
Small leaks can cause high amounts of air to leak out, and it is the job of the compressor to make up that difference. This makes the compressor work harder than necessary to make sure the compressed air is at the level it should be. While the compressor can adapt to a certain degree, depending on the location of the leak or even the number of leaks, the compressor cannot fully prevent pressure drops in the system.
This will not only strain the compressor, but for systems that require specific pressure ranges, it can cause inconsistent performance, product waste, or rework. This is not to mention the wasted energy, sustainability impacts, and multi-thousand-dollar annual costs that can be placed on companies that were unprepared.
This will not only strain the compressor, but for systems that require specific pressure ranges, it can cause inconsistent performance, product waste, or rework. This is not to mention the wasted energy, sustainability impacts, and multi-thousand-dollar annual costs that can be placed on companies that were unprepared.
A Typical Leak Inspection Workflow
Performing preventive maintenance comes in five steps: pre-inspection, surveying, data acquisition, repair, and verification.

1. Pre-inspection
Before engineers can even inspect the equipment, there are a few things that have to be set up first. It is important to check the system state and instrument beforehand to see if the system has potentially been negatively affected by depressurization. Then they review their safety protocols, objective, and plan to standardize how they actually inspect the equipment.
2. Surveying
Surveys start by broadly scanning suspected zones from a distance before carefully moving closer to potentially problematic areas, homing in on abnormal readings. Shielding and positioning are important here because the system must stay on during this process to properly assess where the leak may be coming from.

3. Data acquisition
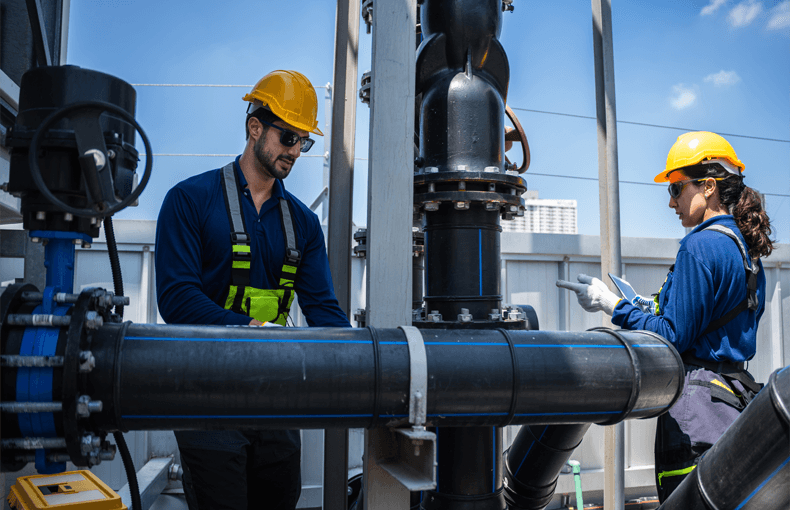
All information gathered through surveillance is then recorded. If there are no leaks, then the process can end there until the time comes to perform the next round of maintenance. If a leak is found, then that information is noted, including the location and severity, before steps are taken to repair it.
4. Repair and verify
The final steps involve repairing any problems the equipment may have. Once the equipment is repaired, the engineers will then run through the previous three steps again to ensure that there are no more leaks in the system.
Frequently Asked Questions
How ATEC Can Help
ATEC provides rental access to inspection equipment used for preventive maintenance and leak detection. Explore our acoustic camera, ultrasonic flaw detector, and pipe crawler rentals for access to internal material inspection and leak localization solutions.
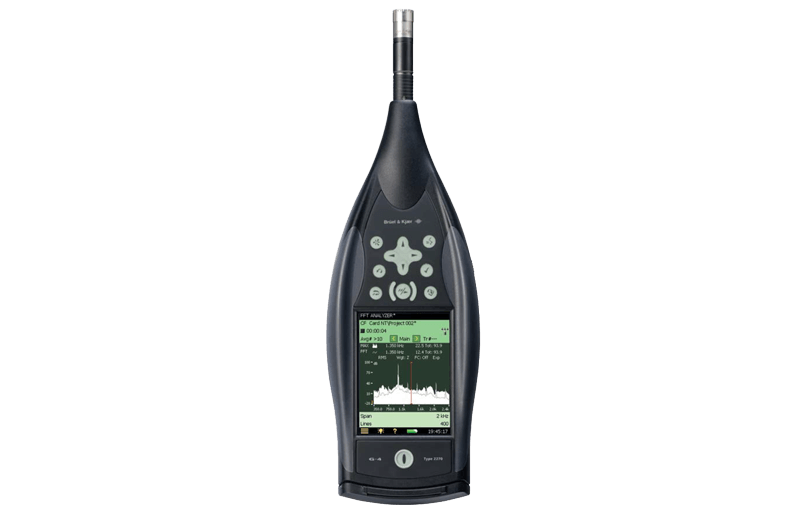
Bruel & Kjaer 2270 Sound Level Meter and Vibration Analyzer
- Frequency Range: 3Hz - 20kHz
- Mic Capacitance: 14pF (at 250Hz)
- Number of Channels: 2
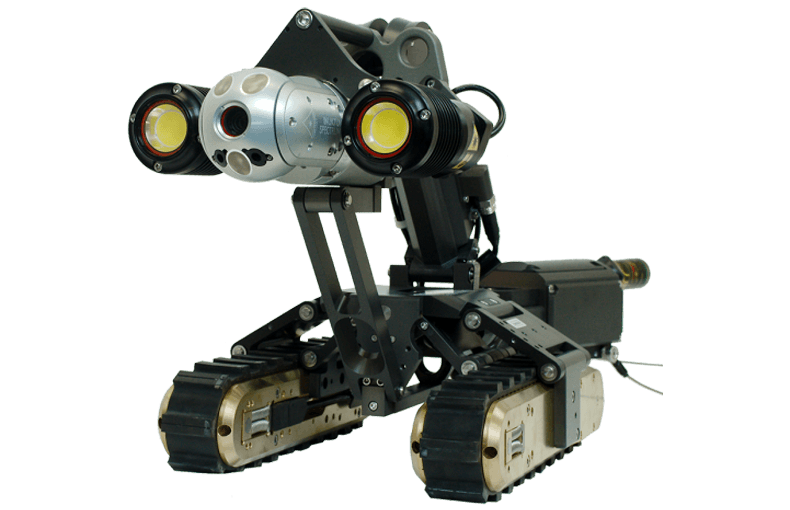
Eddyfi VersaTrax VT-P320 RVI Pipe Crawler
- Min. Pipe Opening: 320mm (12.5in)
- Up to 1,000m (3,300ft) per run
- Max. Speed: 6.4m/min (21ft/min)
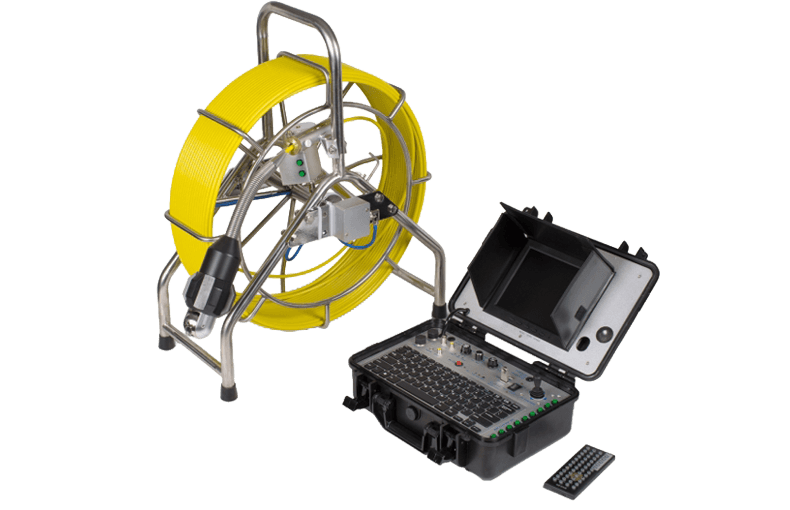
Fiberscope ANACONDA Pan-and-Tilt HD Sewer Camera
- Cable Length: 60/120m
- Pan/Tilt/Angle View: 360°/180°/120°
- Resolution: 1024 x 768
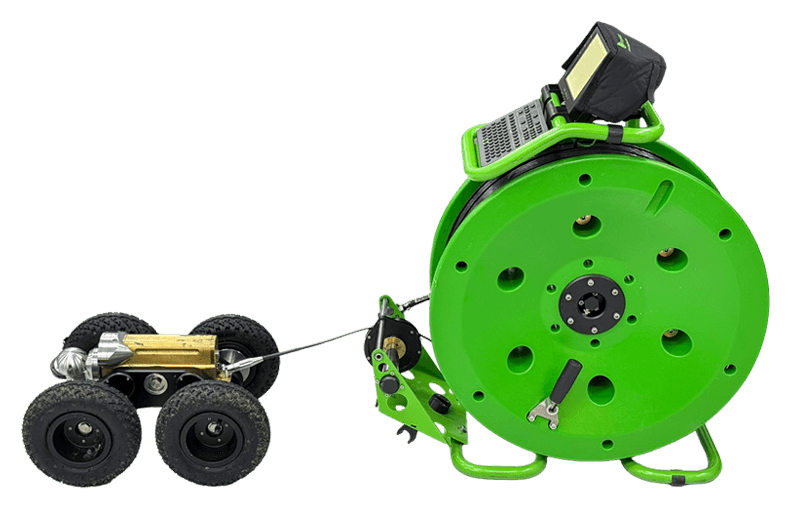
Fiberscope TROGLOTREK Portable Sewer Crawler
- Cable Length: 300m
- Pan/Tilt/FOV: 285°/360°/57°
- Resolution: 540TVL lines
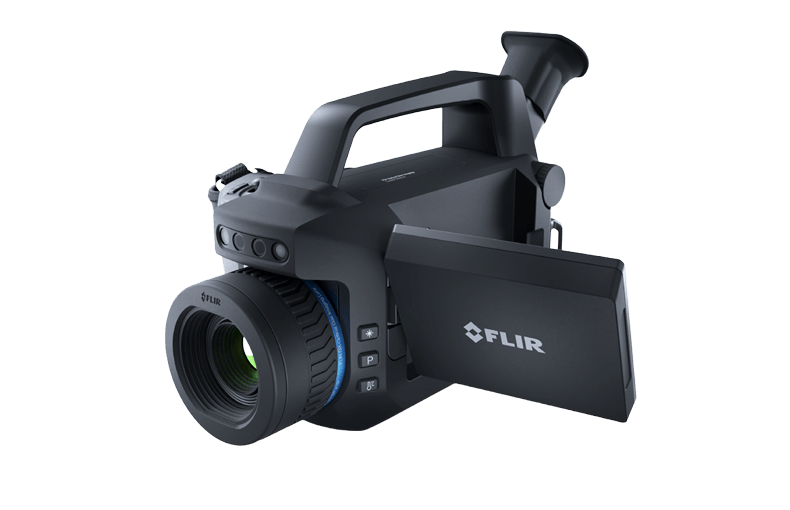
FLIR G306 Optical Gas Imaging (OGI) Camera
- Lens Options: 14.5° & 24°
- Spectral Range: 10.3μm - 10.7μm
- SF6, NH3, and C2H4
Posted September 23, 2026